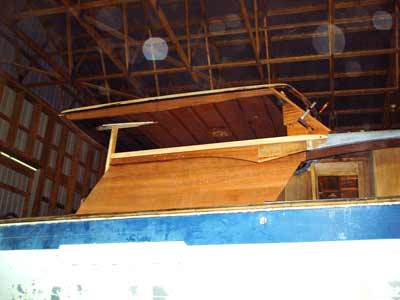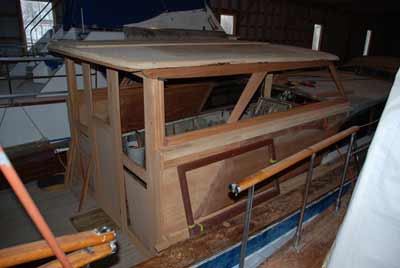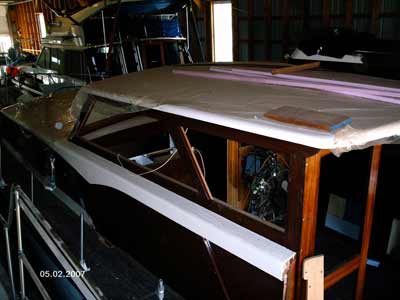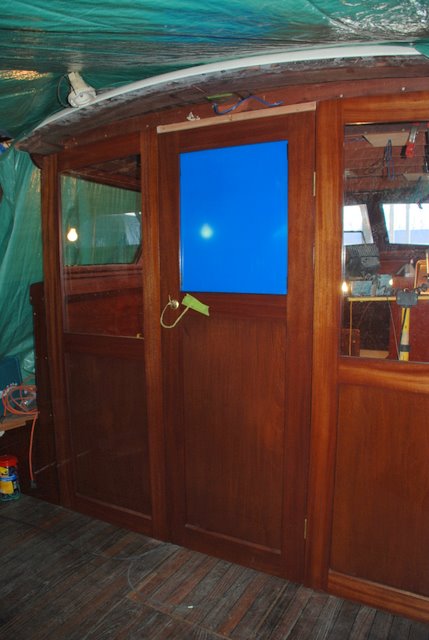
Now came the part to rebuild sides. We decided to build the helm windows and rebuild the helm roof top all at the same time so we could put it all together all at once. (yeh right) We almost did it but then we had an epiphany why not enclose the helm cabin.
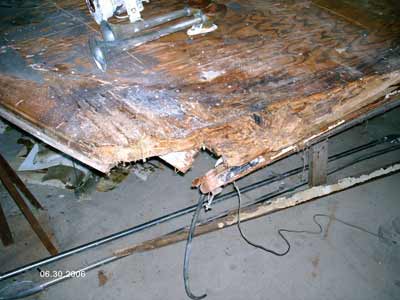
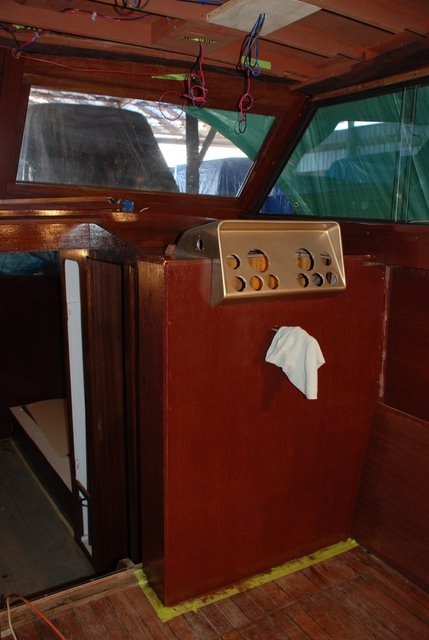
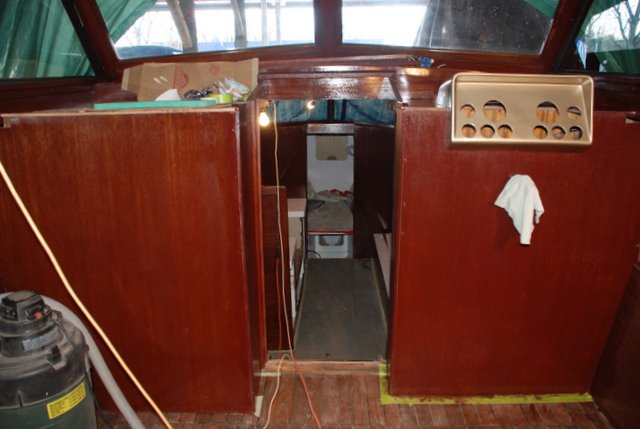
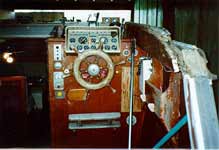
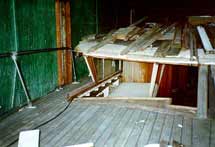
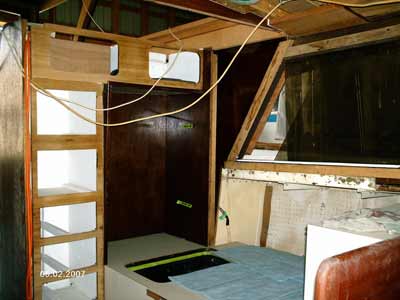
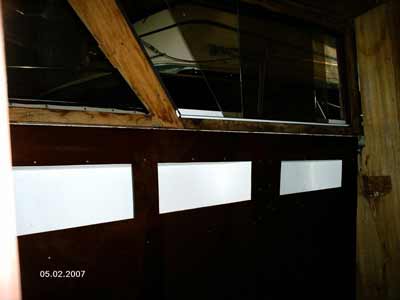
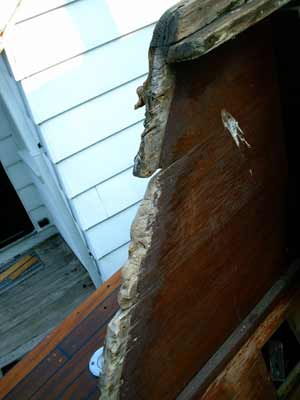
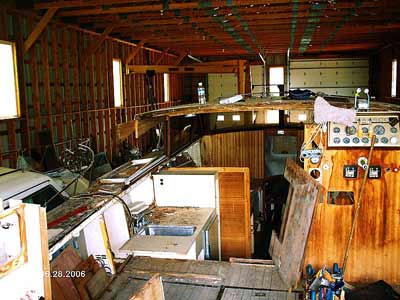
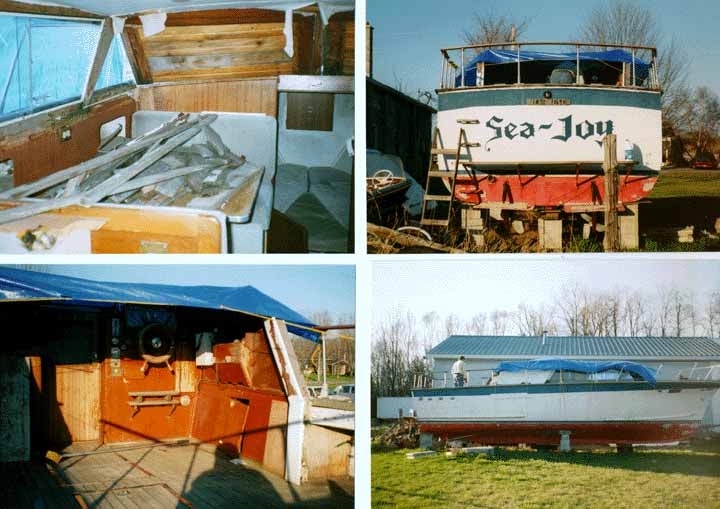
As you probably can see the boat is in very bad condition. I am in the top right picture, my wife says it is a good picture of me. The bottom right is another of me shaking my head and thinking 'what have I got myself into'. The left top is looking port side at the mess and condition of the cabin. Bottom left is what's left of the helm.
No wonder the top blew off. Kinda drafty Transom
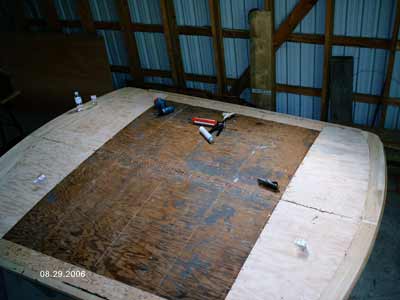
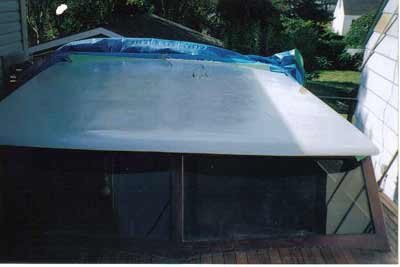
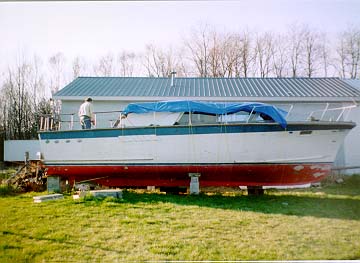
The picture right is the transom deck. It is made of teak and has not rotted but it is badly cracked. After finding out how much a piece of teak would cost to replace it (mega $$$) I am going to try and epoxy it back to gether using the Smith &Co method. The railings are bent because of poor storage though a winter outside. The horse supporting the tarp kicked over and ice and water in the tarp bent and broke the railings.
This is the area that I am going to start with. I think that it will give me a feel for what is to come.
As things progress I shall update my pages, any comments and suggestions would be appreciated. I can be reached at moiranic@eagle.ca
the restoration we hope Not much to report as yet but we have taken the back decking off the transom. Underneath the 3/4 marine plywood is virtually gone I have a part of a piece that can be used as a template. It was covered with tar paper that was ok. The plywood was screwed to the aluminum frame with 3 inch stainless # 16 self tapping screws. More Pictures to come . 
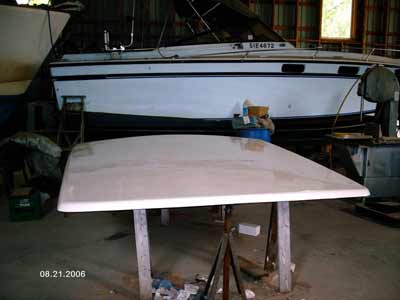
This is transom deck after it had been epoxied
This the transom deck after It had been repaired. The trim underneath was stained with varathane mahogany stain.
We went with stain because of all the different weathering of the wood on the boat made it all different colours.
The old plywood was replaced with 3/4" pressure treated plywood and then covered with flashing
self adhesive asphalt tar paper.
The hatches were taken out to repair and to see if the teak could be cleaned. They were sanded
but on the whole were left rough ( the boat had been heavily sanded before and the deck varied in
width from 1/2" to 5/8"). We felt that sanding them smooth again would make them too thin. They were then treated with Cetol M one coat just to protect.
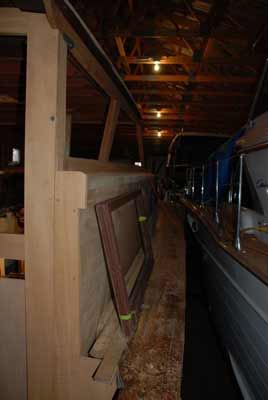
We are also taking off the teak railing decks on both sides to replace the plywood. We found insect
nests in the plywood. The insects were all dead. Thank goodness we found a place inside so the boat could dry out.
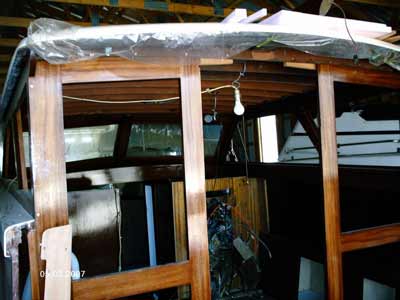
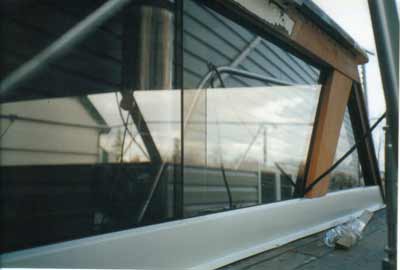
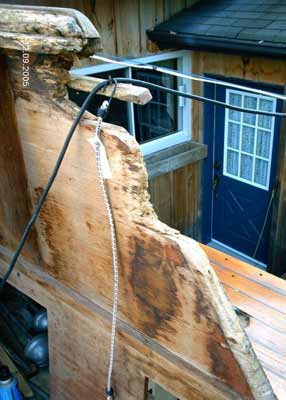
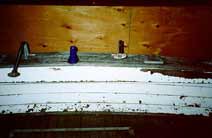
If you look at the above picture you can see the a white line. The deck is sagging the frame is
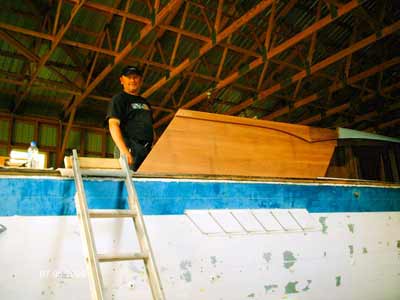
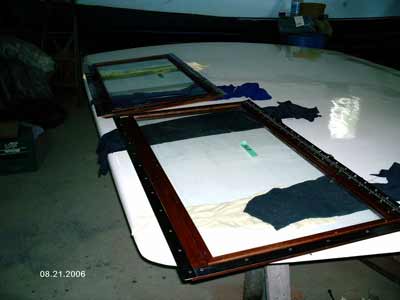
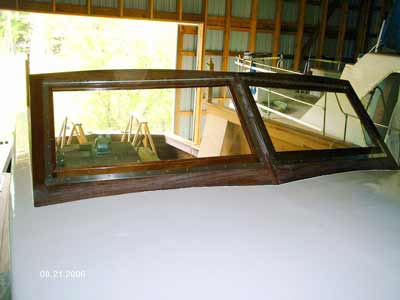
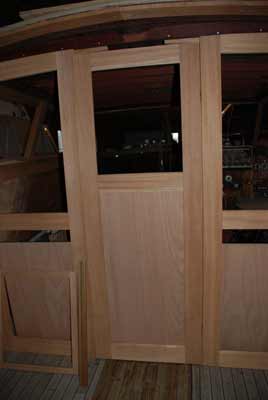
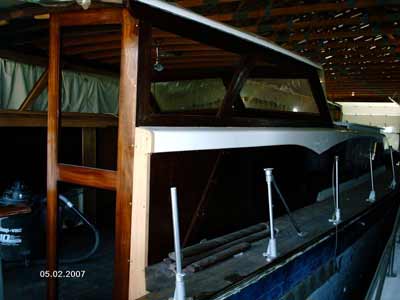
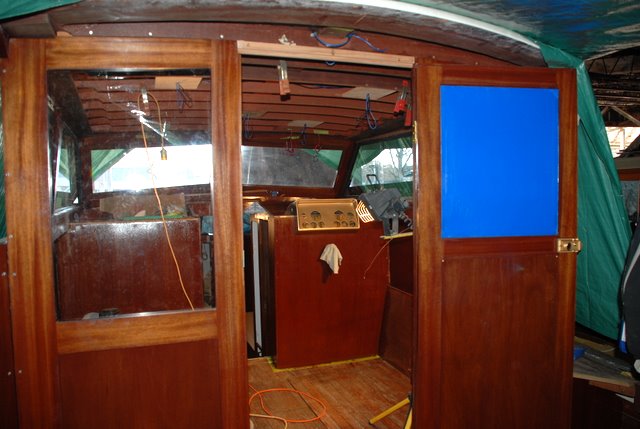
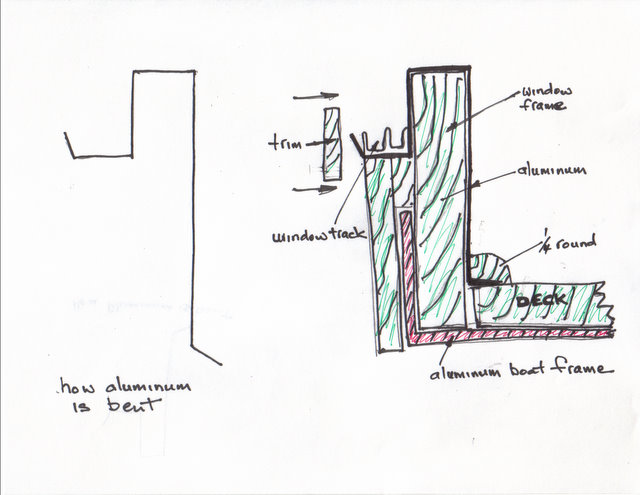
The first order of business was to get the cabin secure. The the fiberglass on the roof had to be taken off and all the remnants of the original roof cloth.then the roof had to be repaired at the corners and also other parts. Then it had to be fiberglassed again. The front windows had to be built from scratch. Took me about a month. There is 4 angles to work with plus they have to be flat so the glass can fit. It was fun !!$##$%***. Along the side of the cabin the wood had rotted because of the sliding windows drain hole was plugged so I rebuilt them then decided to clad the wood with aluminum to help stop the rotting
rotted. Hopefully we can sister the frame after jacking up the deck. (The whole rear deck was pulled up new stringers were installed upon 2" angle aluminum and the deck reinstalled July 2007)
More to be posted later.
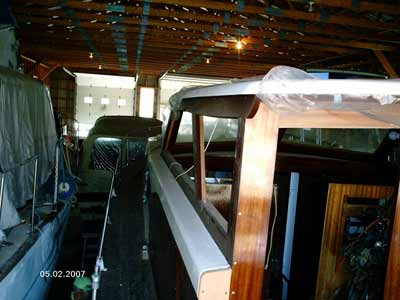
While we were doing the roof some of the interior or the cabin was being done new struts for the windows, new glass, new wood walls and a total renovation of the galley . Completion will come later after the boat has been rewired.
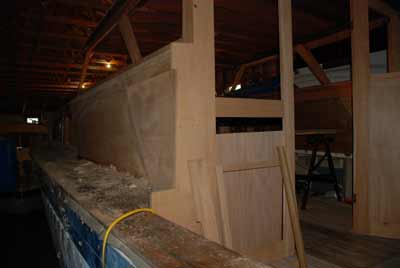
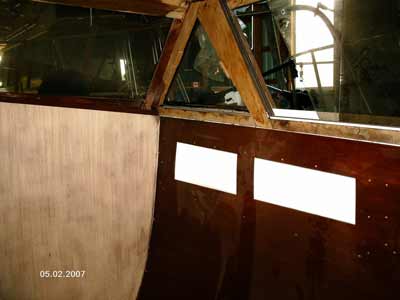
Because of the large amount of rot on both side walls we decided to replace. Below after we ripped out the side walls.